How to install LED flat panel lights in your office or home
Upgrading to a new LED Panel Light offers superior light quality and significant energy savings. This modern lighting can reduce costs by up to 60% compared to older fluorescent lamps. Quality led light fixtures from a reputable LED Panel Light Manufacturer also provide a long lifespan, lasting up to 50,000 hours. People who install LED flat panel lights choose from three main methods: drop-in, surface mount, or recessed. The correct installation for the LED Panel Light depends on the ceiling type—grid or solid—and the desired aesthetic. As leading led light manufacturers, we ensure our products meet the highest standards.
Before You Begin: Preparation and Safety First
Proper preparation is the foundation of a successful project. Before you install led flat panel lights, taking the time to prioritize safety and gather the right equipment ensures a smooth and secure process. This initial phase prevents mistakes and protects both the installer and the property.
Crucial Safety: Turn Off the Power
Working with electricity demands the utmost caution. The National Electrical Code (NEC) provides standards to prevent electrical hazards. Failure to de-energize circuits can lead to severe consequences.
Electrical Shocks: Touching a live wire can cause serious injury or be fatal.
Fire Hazards: Improper connections or overloaded circuits can create sparks, leading to electrical fires.
Property Damage: A faulty installation can damage the new light fixture or the building's electrical system.
Shut Down Power at the Circuit Breaker
Locate your home or office's main electrical panel. Find the circuit breaker that controls the power to the room where you are working. Flip the breaker to the "OFF" position. It is a good practice to label the breaker with a note so no one accidentally turns it back on.
Verify Power is Off with a Voltage Tester
Never assume the power is off. After flipping the breaker, use a non-contact voltage tester on the wires of the existing fixture. The tester will confirm there is no electrical current. This simple check is the most important safety step in the entire installation.
Gather Your Tools and Materials
Having everything on hand before starting saves time and frustration. A well-prepared workspace makes the job much easier.
Essential Tools for Installation
Most of the tools required are common household items. A complete toolkit prevents interruptions.
Voltage Tester: To verify power is off.
Ladder or Step Stool: For safe access to the ceiling.
Screwdriver Set: To remove the old fixture and secure the new one.
Wire Strippers: For preparing wires for connection.
Drill with appropriate bits: For creating mounting holes if needed.
Measuring Tape and Pencil: To ensure accurate placement.
Necessary Materials and Hardware
Check the contents of your new LED panel light kit. It should include the panel, driver, and mounting hardware. You will also need:
Wire Connectors (Wire Nuts): To securely join the electrical wires.
Safety Glasses: To protect your eyes from dust and debris.
How to Choose Your Installation Method
The type of ceiling you have determines the best installation method for your new lighting. Each approach creates a different look and has unique requirements.
Pro Tip: Suspended grid ceilings offer the simplest installation path. The modular design allows for easy access to wiring and requires fewer specialized tools compared to solid drywall ceilings.
For Suspended or Grid Ceilings
A suspended ceiling, also known as a drop ceiling, features a metal grid with lightweight tiles. For this type, the drop-in method is ideal. The process involves removing an existing ceiling tile and simply setting the new LED panel into the grid opening.
For Drywall or Solid Ceilings
Solid ceilings made of drywall or plaster require a different approach. Installers can choose between a surface mount or recessed method. A surface mount involves attaching a frame directly to the ceiling and sliding the panel into it. A recessed installation requires cutting a precise opening in the drywall for a flush, built-in appearance.
Understanding Your LED Flat Panel Light
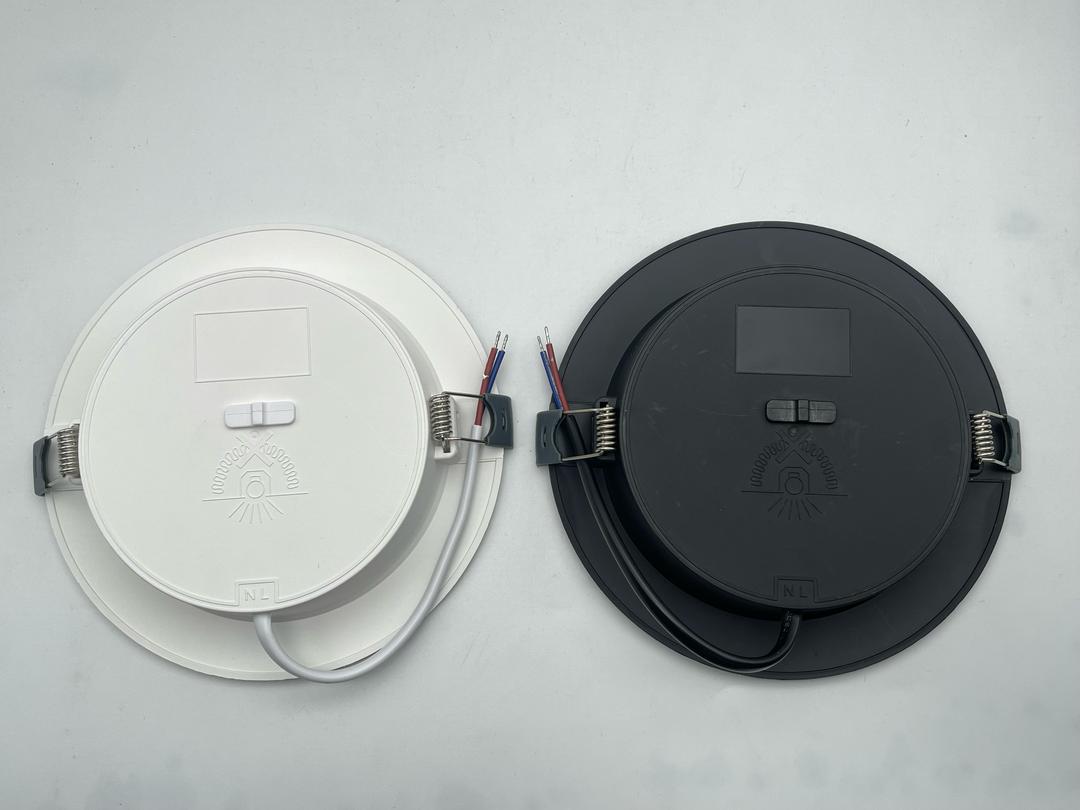
A successful installation begins with a thorough understanding of the product. Familiarizing yourself with the new fixture's components and features ensures that every piece fits correctly and the final result meets your expectations.
Unboxing and Inspecting Components
Once the new flat panel light arrives, the first step is to carefully unbox it and inspect all the contents. This initial check confirms that you have everything needed for the installation and that no parts were damaged during shipping.
Reading the User Guide
The user guide or instruction manual is the most important document in the box. It contains specific details about your model, including wiring diagrams, safety warnings, and a complete parts list. Always review the manual before starting the project. It provides the manufacturer's official guidance for a safe and correct installation.
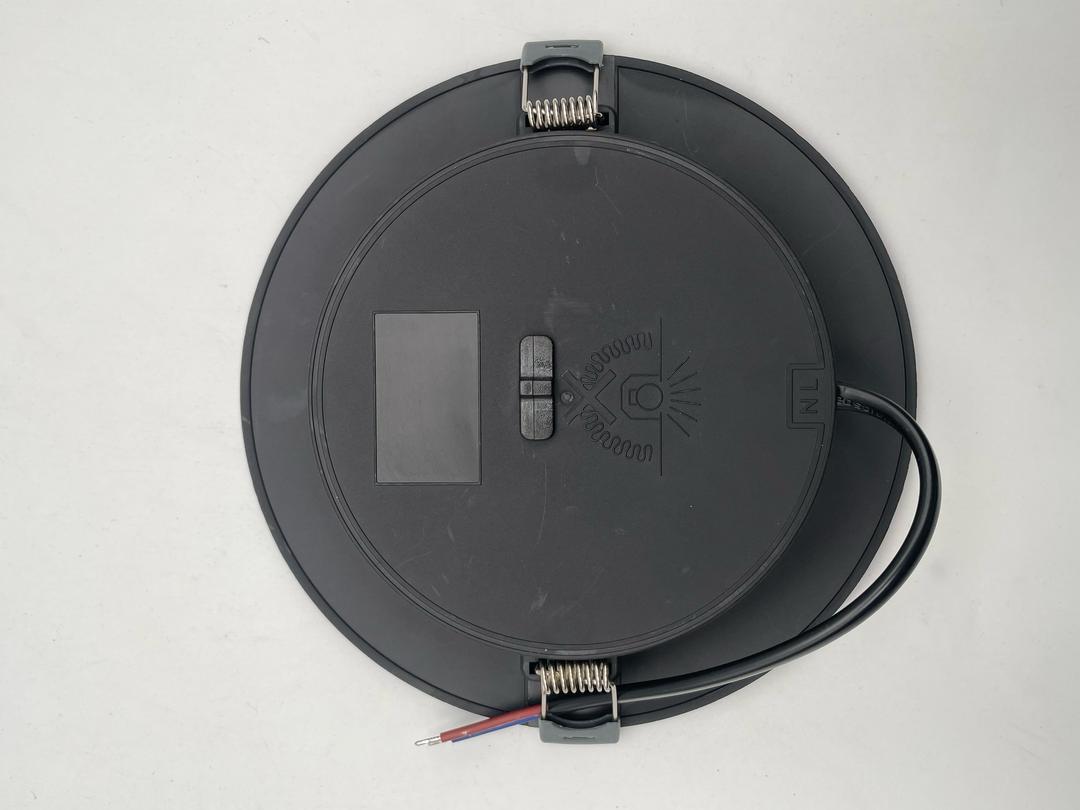
Identifying All Parts and Brackets
Lay out all the components on a clean, flat surface. Compare the physical parts to the inventory list in the user guide.
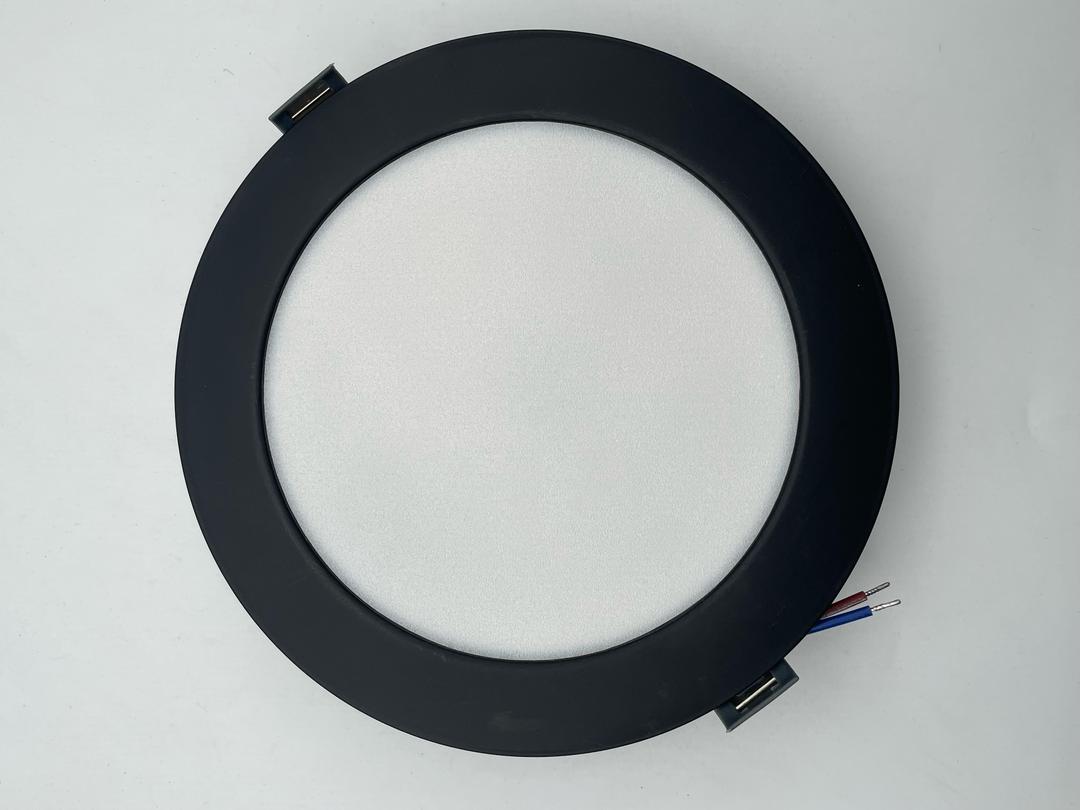
The LED panel itself
The external driver (power supply)
Mounting brackets, screws, and anchors
Wire connectors
Confirming that all pieces are present and intact prevents delays and ensures you have the correct hardware for your chosen installation method.
Selecting the Right Color Temperature (CCT)
The color temperature of a light, measured in Kelvin (K), dramatically affects the ambiance of a room. Many modern fixtures offer adjustable CCT, giving you control over the mood and function of your lighting.
Understanding Kelvin for Ambiance
Different environments benefit from different types of light. A lower Kelvin value produces a warm, cozy glow, while a higher value creates a cool, energizing brightness similar to daylight. The right choice enhances both comfort and productivity.
Environment Type | Recommended Kelvin (K) Range |
|---|---|
Residential (Living Rooms, Bedrooms) | 2700K–3000K (Warm White) |
Kitchens, Bathrooms, Offices | 3500K–4100K (Neutral White) |
Workspaces, Workshops, High-Detail Tasks | 5000K–6500K (Cool White/Daylight) |
Using CCT Selectable Switches
Many panels feature a CCT selectable switch, often a small dip switch located on the back of the fixture or on the driver. This feature allows you to choose the perfect color temperature before finalizing the installation.
How It Works: These fixtures contain both warm white and cool white led chips. The switch tells an internal controller how to blend the output from these chip groups. Selecting 3000K may use only the warm chips, while a 4000K setting combines both to produce a neutral white light. This simple adjustment provides excellent versatility from a single fixture.
How to Install LED Flat Panels: Drop-In Method for Grid Ceilings
The drop-in method is the most straightforward way to install led flat panels in a suspended grid ceiling. This approach leverages the modular nature of the ceiling for a quick and clean upgrade. The process involves swapping an old fluorescent troffer or a standard ceiling tile with the new LED fixture.
Step 1: Remove the Old Fixture
Removing the existing fixture is the first hands-on step. An installer must work carefully to avoid damaging the surrounding ceiling grid or tiles. Safety remains the top priority during this phase.
Lifting the Old Ceiling Tile or Troffer
The installer first pushes the old fixture up into the ceiling plenum. They then tilt it at an angle to guide it down through the grid opening. Most residential and commercial grid ceilings use standard-sized openings, making this process simple. The new panels are designed to match these dimensions perfectly.
Feature | Detail |
|---|---|
Standard Size | 2x2 FT (24x24 inches) |
Mounting Type | Drop Ceiling Grid |
Safely Disconnecting the Old Wiring
With the old fixture resting securely on the ladder or supported, the installer can access the wiring. Disconnecting it properly prevents electrical hazards. Always photograph the wiring configuration for reference before making any changes.
Safety Procedure: A certified electrician follows a strict process to disconnect power.
Confirm power is off at the breaker.
Verify with a voltage tester that no current is flowing to the fixture.
Take a clear photo of the wire connections for later reference.
Carefully disconnect the wires from the ballast, typically by unscrewing wire nuts or releasing quick-connects.
Step 2: Place the New LED Panel
After removing the old unit, the installer can prepare to position the new led panel. This step is the reverse of the removal process and is usually quick and simple.
Setting the Panel into the Grid
The installer lifts the new panel and angles it up through the grid opening. They then carefully lower the panel until its edges rest securely on the inner lips of the T-bar grid. The low-profile design allows the light to sit flush with the ceiling tiles for a seamless look.
Securing the Panel with Safety Clips
For safety and code compliance, the installer must secure the panel to the grid. Most panels have integrated safety clips or brackets on each corner. The installer bends these tabs over the T-bar grid. This action prevents the fixture from accidentally dislodging.
It is important to note that these clips secure the panel to the grid itself. Building codes in many areas, especially for exit illumination, require fixtures to have independent support from the structure above. This ensures the light remains in place even if the ceiling grid fails. Always consult local building codes before you install led flat panel lights to ensure full compliance.
How to Install LED Flat Panels: Surface Mount Method for Solid Ceilings
An installer can use the surface mount method to install led flat panel lights on solid ceilings like drywall or plaster. This approach is ideal when a recessed installation is not feasible. It creates a clean, modern look by encasing the panel in a slim frame that sits flush against the ceiling surface. The process requires careful measurement and secure attachment of the mounting frame.
Step 1: Assemble the Mounting Frame
The surface mount kit includes a frame that must be assembled before it can be attached to the ceiling. This frame houses the led panel and its driver.
Connecting the Frame Sides
The frame typically arrives in four separate pieces. An installer connects three of these sides to form a U-shape. They usually slide together or are secured with small screws provided in the kit. The fourth side is left off for now. This opening allows the panel to be slid into place later in the process.
Planning Your Frame Placement
Proper placement is critical for a professional-looking installation. The installer must first determine the exact location for the new light fixture. They use a measuring tape and pencil to mark the ceiling, ensuring the placement is centered in the room or aligned with other ceiling elements. It is also important to locate the ceiling joists using a stud finder. Attaching the frame directly to joists provides the most secure support for the fixture.
Step 2: Attach the Frame to the Ceiling
With the location marked, the installer can now secure the three-sided frame to the ceiling. This step ensures the fixture will be stable and safe.
Marking and Drilling Pilot Holes
The installer holds the assembled U-shaped frame against the ceiling, aligning it with the pencil marks. They use a pencil to mark the locations for the mounting screws through the pre-drilled holes in the frame. After setting the frame aside, they drill pilot holes at each mark. If a hole does not align with a ceiling joist, a special anchor is needed to support the weight.
Pro Tip: For drywall ceilings, using the right anchor is essential for a secure mount.
KapToggle anchors are an excellent choice. These nylon and steel fasteners are three times stronger than typical anchors.
Expansion Anchors (Toggle Bolts) are also suitable for heavier items. A ½” toggle bolt can support significant weight, ensuring the fixture remains safely attached.
Securing the Frame with Screws
The installer aligns the frame with the pilot holes and drives screws through the frame into the ceiling. If using anchors, they follow the manufacturer's instructions to install them first. They ensure the frame is tight against the ceiling surface with no gaps.
Step 3: Slide the Panel into the Frame
The final step involves placing the panel and completing the assembly. This part requires careful handling to avoid scratching the panel or the frame.
Inserting the Panel into the Mount
The installer first completes the wiring connections for the panel's driver (as detailed in the "Wiring Your New Flat Panel" section). They then carefully slide the light panel into the mounted frame through the open side. The panel should glide smoothly along the tracks inside the frame.
Attaching the Final Frame Piece
Once the panel is fully inserted, the installer attaches the fourth and final piece of the frame. This last side is secured with screws, enclosing the panel completely. This completes the installation, leaving a sleek, low-profile light fixture on the ceiling.
How to Install LED Flat Panels: Recessed Method for Drywall Ceilings
The recessed method offers the cleanest and most integrated look for solid drywall ceilings. This installation creates a flush finish where the light appears to be a natural part of the ceiling itself. It requires precise cutting and careful handling, but the result is a sophisticated, modern aesthetic. This approach is best for new construction or major renovations where accessing the ceiling cavity is possible.
Step 1: Mark and Cut the Ceiling Opening
Creating the right-sized opening is the most critical part of a recessed installation. A precise cut ensures the fixture fits snugly without gaps and is properly supported by the surrounding drywall.
Using the Provided Template
Most recessed led panel kits include a cardboard or paper template. The installer places this template on the ceiling in the desired location and traces its outline with a pencil. This simple step removes any guesswork and guarantees the opening will match the fixture dimensions perfectly. Using the template is essential for a professional outcome.
Cutting the Drywall
Before cutting, an installer performs several crucial structural checks to prevent damage and ensure a safe installation.
They assess the ceiling's ability to bear the weight of the new fixture.
They check for obstructions like pipes, ductwork, or electrical wiring in the ceiling cavity.
They identify if the fixture requires direct attachment to ceiling joists for added stability.
Once the area is confirmed to be clear, the installer uses a drywall jab saw or a rotary tool to carefully cut along the traced pencil line. They work slowly to create clean edges and avoid damaging the surrounding ceiling area.
Step 2: Install the Mounting Hardware
With the opening prepared, the next step is to ready the fixture for installation. Recessed panels use specialized clips that secure the unit directly to the drywall.
Attaching Brackets to the Fixture
The installer attaches the provided spring-loaded mounting clips to the sides of the panel. These clips are a key component of the recessed mounting system. They are designed with a spring mechanism that will grip the ceiling material from above. The installer ensures each clip is securely fastened to the fixture according to the manufacturer's instructions.
Securing Clips Inside the Opening
After completing the wiring, the installer prepares to mount the panel. The spring clips make this process straightforward and efficient.
The installer pushes the spring clips upward and holds them flat against the fixture.
They carefully guide the panel up into the ceiling opening.
Once the panel is through the opening, the spring clips release and expand, pressing down firmly on the top side of the drywall.
This spring action creates tension that holds the panel securely in place, flush with the ceiling. The flexibility of these clips allows for easy installation and can accommodate slight variations in ceiling thickness.
Wiring Your New Flat Panel LED Light
Correctly wiring the new fixture is a critical step that ensures safe and reliable operation. This process involves connecting the panel's driver to the building's main power supply. An installer must handle every connection with precision to guarantee the longevity of the new lighting system.
Accessing the Junction Box
The driver for the LED panel contains a small junction box where all electrical connections are made. Gaining access to this compartment is the first step in the wiring process.
Removing the Driver Cover Plate
An installer typically uses a screwdriver to remove a small cover plate on the side of the driver. This action exposes the internal wiring compartment and the fixture's pre-installed wires. Safety regulations require that the working space around electrical equipment remains clear and unobstructed, so the installer ensures there is adequate room to work before proceeding.
Preparing the Wires for Connection
The installer feeds the main power cable from the ceiling into the junction box through a knockout hole. They then use wire strippers to remove about a half-inch of insulation from the end of each wire (live, neutral, and ground). This exposes the clean copper needed for a solid connection.
Connecting the Main Power Wires
Connecting the main power requires matching the building's wiring to the fixture's wiring. Following standard color codes is essential for safety and proper function.
Matching and Connecting Wires (Live, Neutral, Ground)
The installer matches the wires from the ceiling to the corresponding wires on the new light fixture. In the United States, wire colors follow a specific standard.
Wire Type | Color Code (United States) |
|---|---|
Live | Black |
Neutral | White |
Ground | Green or Bare Copper |
The installer connects the black wire to the black wire, the white wire to the white wire, and the green or bare copper wire to the green wire.
Securing Connections with Wire Nuts
After twisting the ends of the matched wires together, the installer screws a wire nut over each connection. They turn the nut until it is tight, ensuring no bare copper is exposed. A gentle tug on each wire confirms the connection is secure.
Connecting Optional Dimmer Wires
Many modern LED panels offer 0-10V dimming capabilities. This feature requires connecting two additional low-voltage wires.
What is 0-10V Dimming? This technology uses a low-voltage DC signal (from 0 to 10 volts) to tell the driver how bright the light should be. A 10V signal means 100% brightness, while a 1V signal is 10% brightness. It operates independently from the main power that runs the flat panel led light.
Identifying 0-10V Dimmer Control Wires
The installer identifies the two low-voltage control wires on the fixture's driver. These wires are typically violet (or purple) and gray. It is important to note that upcoming code changes may replace the gray wire with a pink one.
Making the Dimmer Connections
The installer runs a separate low-voltage cable from a compatible 0-10V dimmer switch to the fixture. They connect the violet wire to the violet wire and the gray wire to the gray wire. These connections complete the dimming circuit, allowing for smooth control over the light's intensity.
Finalizing the Installation and Testing
The final steps of the project involve securing the hardware and verifying that everything works correctly. An installer completes these last checks with the same attention to detail used throughout the process. This ensures a safe and successful outcome.
Secure the Fixture in Place
With the wiring complete, the installer can now physically lock the panel into its final position. This phase concludes the mechanical part of the installation.
Mounting the Panel to its Frame or Clips
The installer carefully maneuvers the panel into its designated housing.
For Drop-In: They confirm the panel rests evenly on the grid and that all safety clips are bent over the T-bars.
For Surface Mount: They attach the final side of the frame, fully enclosing the fixture.
For Recessed: They push the panel into the ceiling opening until the spring clips click, locking the fixture in place.
This step ensures the new fixture is stable and flush with the ceiling for a professional appearance.
Closing the Junction Box Cover
Safety is paramount when dealing with electrical connections. The installer neatly tucks all wires inside the driver's junction box. They then reattach the cover plate and secure it firmly with its screw. This essential action protects the wiring from dust, debris, and accidental contact, completing the electrical enclosure for the fixture.
Restore Power and Test Your New LED Light
After securing the fixture and closing all compartments, it is time to test the new light. This is the most rewarding part of the project, where the installer sees the result of their work.
Final Safety Check: Before restoring power, an installer double-checks that all tools and materials are cleared away from the work area. They also ensure all fixture covers are securely in place.
Turning the Circuit Breaker Back On
The installer returns to the main electrical panel. They locate the breaker that was previously turned off and flip it back to the "ON" position. This action restores electricity to the circuit powering the new lighting.
Flipping the Switch to Test
The final test confirms a successful installation. The installer goes to the wall switch and flips it on. The new led light should illuminate the room instantly with clean, consistent brightness. If a 0-10V dimmer was installed, they test its functionality by adjusting the light from its lowest to its highest setting. A properly working fixture signifies the project is complete.
An installer can successfully install led flat panel lights by following the correct steps and prioritizing safety. Choosing the right method for the ceiling ensures a professional upgrade. The new light transforms a space with modern, energy-efficient lighting. Businesses that upgrade can save thousands annually on energy costs. This project delivers a bright and productive environment.
Disclaimer: If an installer is uncertain about any part of the electrical wiring process, they should consult a certified electrician.
FAQ
How long do LED flat panel lights last?
An installer can expect a quality LED flat panel to last up to 50,000 hours. This lifespan is significantly longer than traditional fluorescent bulbs. It provides many years of maintenance-free operation, reducing long-term replacement costs for the owner.
Can an installer use a standard dimmer switch with these panels?
No, an installer cannot use a standard dimmer. LED flat panels require a compatible 0-10V dimmer switch. Using an incorrect dimmer type can damage the fixture's driver and will not control the light level properly. Always check the product specifications.
What should an installer do if the light flickers?
Flickering often indicates a loose connection or an incompatible dimmer. An installer should first turn off the power at the breaker. Then, they must check all wire nut connections inside the junction box to ensure they are secure.
Are these lights suitable for damp locations?
It depends on the fixture's IP rating. An installer should look for a panel with a "damp location" rating for use in areas like bathrooms or covered patios. A "wet location" rating is necessary for direct exposure to water.
Important Note: Always verify the fixture's rating in the user manual before installing it in an area with moisture.
Why does the light stay on dimly after being turned off?
This phenomenon, called "ghosting," can happen with some LED circuits. It is often caused by induced voltage in the wiring. A qualified electrician can resolve this issue, sometimes by installing a load resistor or correcting a wiring problem.
Can an installer put a 2x4 panel in a 2x2 grid?
No, a 2x4 foot panel will not fit in a 2x2 foot grid opening. An installer must match the panel size to the grid size. The most common sizes are 2x2 and 2x4. Measuring the grid opening before purchase prevents this issue.
What if the ceiling grid is not a standard size?
For non-standard grid sizes, an installer must use the surface mount or recessed method on a solid ceiling. The drop-in method only works with standard 2x2 or 2x4 suspended ceiling grids. Custom solutions may require professional assistance.
See Also
Discovering The Best LED Panel Lighting Solutions For Modern Offices In 2026
Seamlessly Transitioning From Fluorescent To Energy-Efficient LED Panel Lighting: A How-To Guide
Unveiling The Top 10 Superior LED Flat Panel Lights For 2026
Selecting The Perfect LED Ceiling Lighting To Illuminate Your Unique Space