How to install recessed downlights step by step
The market for modern led light fixtures shows strong growth, driven by energy efficiency and minimalist design. Homeowners can install recessed lighting to achieve this look. This step-by-step guide simplifies the DIY installation process. Choosing a quality LED DownLight from a reputable LED DownLight Manufacturer or one of the leading led light manufacturers is crucial when installing recessed lighting.
Your 5-step path to install recessed downlights:
Plan Layout & Power Down
Cut Ceiling Holes
Run Electrical Wires
Install the Fixtures
Add Trim & Test
Pre-Installation Checklist: Tools and Materials
A successful DIY project begins with thorough preparation. Gathering all necessary tools and materials beforehand prevents delays and ensures a smooth workflow. This checklist provides a comprehensive overview of everything needed for the job. Following this guide simplifies the process from start to finish.
Essential Tools for a Smooth Installation
The right tools make any project safer and more efficient. A homeowner should collect these items before beginning the installation.
For Measuring and Marking
Tape Measure: For accurately plotting light locations.
Pencil: For marking the ceiling and other surfaces.
Stud Finder: An essential tool for locating ceiling joists and avoiding obstructions.
For Cutting and Drilling
Power Drill: A reliable drill is necessary for the hole saw.
Hole Saw with Arbor: The diameter must match the specific size required by the light fixture's housing.
Drywall Jab Saw: Useful for making adjustments or cutting in tight spaces where a drill won't fit.
For Electrical Work
Non-Contact Voltage Tester: A critical safety device to confirm power is off before touching any wires.
Wire Strippers/Cutters: For cleanly removing cable sheathing and stripping individual wires.
Pliers (Needle-Nose and Lineman's): For bending wires and securing connections.
For Safety
Safety Glasses: Protects eyes from drywall dust and debris.
Sturdy Ladder or Step Stool: Provides safe access to the ceiling work area.
Required Materials for Your Project
Selecting the correct materials is just as important as having the right tools. This part of the project involves choosing the lights and all associated electrical components.
Choosing Your Recessed Lights
Recessed Light Kits: Most kits include the housing, trim, and junction box. Homeowners should select "Remodel" style housings for existing ceilings.
IC-Rated Fixtures: These are mandatory if the fixtures will touch ceiling insulation. The rating prevents a fire hazard.
Electrical Supplies
Electrical Cable (NM-B): Use 14/2 gauge wire for 15-amp circuits or 12/2 for 20-amp circuits.
Wire Connectors (Wire Nuts): To securely connect the electrical wires inside the junction boxes.
Wall Switch: A new standard or dimmer switch may be needed.
Pro Tip: Purchase about 15-20% more electrical cable than measured. This extra length provides flexibility for routing wires and correcting any mistakes.
Miscellaneous But Necessary Items
Drop Cloths or Plastic Sheeting: To protect floors and furniture from drywall dust.
Light Bulbs: Ensure they are compatible with the chosen fixtures and dimmer switch, if applicable.
Step 1: Plan Your Layout and Power Down
A successful DIY project to install recessed downlights begins with a solid plan. This initial phase involves designing the light placement for optimal effect and ensuring the work area is safe. Proper planning prevents mistakes and makes the physical installation much smoother.
Designing Your Lighting Layout
A thoughtful layout transforms a room from simply lit to beautifully illuminated. The goal is to achieve even, functional light without creating dark spots or harsh glare.
Determine the Room's Purpose
The function of a room dictates its lighting needs. A kitchen requires bright, task-oriented light, while a living room benefits from softer, ambient illumination. Professionals measure this brightness in foot-candles. To find the total brightness (lumens) needed, a homeowner multiplies the room's square footage by the recommended foot-candles for that space.
Room Type | Recommended Foot-Candles |
|---|---|
Living Room | 10-20 |
Kitchen (General) | 30-40 |
Bedroom | 10-20 |
For example, a 150-square-foot kitchen needing 30 foot-candles requires a total of 4,500 lumens distributed among the fixtures.
Calculate Light Spacing
An industry-standard 'Spacing Formula' helps create balanced lighting. This guide states the distance between each light fixture should be twice the distance from the wall to the first fixture. This method accounts for the cone of light from each fixture, preventing dark gaps.
General Spacing Rules of Thumb
Ceiling Height: A common rule is to divide the ceiling height by two to get the suggested space between lights. An 8-foot ceiling suggests lights spaced 4 feet apart.
Wall Distance: Place the first row of lights 1.5 to 3 feet away from the walls.
Locating Ceiling Joists and Obstructions
Ceiling joists provide structural support and cannot be cut. Locating them before drilling is essential for a successful installation.
Using a Stud Finder
A homeowner should slide an electronic stud finder across the ceiling to locate and mark the position of each joist. Marking the edges of all joists in the work area provides a clear map of where fixtures can and cannot go.
What to Do If a Joist Is in the Way
If a planned location falls directly on a joist, the easiest solution is to adjust the layout. However, modern wafer-style or disc lights are thin enough to be installed directly under a joist. Cutting a joist is extremely dangerous and can compromise the home's structure. If you see signs of a weak structure, like cracks in the drywall or a sagging ceiling, consult a professional before installing recessed lights.
Safety First: Turn Off the Power
Working with electricity is dangerous. Before starting any work, a homeowner must completely turn off power to the circuit. This is the most critical step for a safe project.
Safety Alert! ⚠️ Never work on live electrical wires. Always verify that the power is off with a voltage tester before touching any wires or fixtures.
Locate Your Circuit Breaker Box
The National Electrical Code (NEC) requires breaker panels to be accessible. They are typically found in basements, garages, or utility closets.
Turn Off the Correct Breaker
Open the panel door and find the breaker that controls the lights or outlets in the work area. The panel directory should label each circuit. Flip the correct breaker to the "OFF" position.
Double-Check with a Voltage Tester
After you turn off power, use a non-contact voltage tester at the switch and any outlets on the circuit. The tester should not light up or make a sound. This confirms the circuit is de-energized and safe for the recessed lighting installation.
Step 2: Cut the Holes for Your Recessed Lights
With the layout planned and the power off, the next phase is the physical installation. This step involves precisely cutting openings in the ceiling. Careful measurement and a steady hand are essential for a clean, professional-looking result. This part of the guide ensures the homeowner makes accurate cuts the first time.
Marking Your Cutouts
Accurate marking is the foundation of a successful cut. Taking a few extra moments here prevents significant repair work later.
Using the Provided Template
Most recessed light kits include a cardboard or paper template. A homeowner should place this template on the ceiling at each marked location from Step 1. He or she can then trace around it with a pencil, creating a perfect circle to follow for the cut.
Final Placement Check
Before cutting, a homeowner must perform a final check. He or she should re-measure the distances between the marks and from the walls to confirm the layout is still correct. To be certain the space behind the drywall is clear, one can drill a small pilot hole in the center of each circle. Then, a bent piece of wire can be inserted and rotated to feel for hidden joists, pipes, or ductwork.
Making the Cut
This is where the project becomes tangible. Using the right technique will produce clean holes that the light trim can cover perfectly. A sloppy cut can lead to visible gaps and difficult drywall repairs.
Attaching the Hole Saw to Your Drill
A homeowner should select a hole saw bit that exactly matches the diameter of the traced template. He or she must securely fasten the bit into the power drill's chuck, ensuring it is tight and centered.
Cutting Technique for a Clean Opening
The user should place the pilot bit of the hole saw in the small exploratory hole drilled earlier. It is best to start the drill at a low speed to score the drywall paper before increasing the speed. Apply firm, steady upward pressure, keeping the drill perfectly perpendicular to the ceiling. Let the saw do the work instead of forcing it. This technique prevents the saw from jumping and tearing the drywall.
Common DIY Cutting Mistakes to Avoid Many projects run into trouble at this stage. Homeowners should be aware of these common errors:
Busted Edges: Applying too much force or using a dull saw can tear the drywall paper and crumble the gypsum core. This creates a messy hole that requires extensive patching.
Incorrect Measurement Transfer: A frequent mistake is measuring overhead and then incorrectly transferring those numbers. This can result in a hole cut in the wrong location, ruining a large section of the ceiling.
Gaps Around the Fixture: The electrical code allows for a maximum 1/8-inch gap around an electrical box. A larger gap from an inaccurate cut will not be covered by the trim and must be filled.
Pro Tips for Minimizing Drywall Dust
Cutting into a ceiling creates a significant amount of fine dust. To control the mess, a homeowner can use a few simple tricks.
Tape a plastic bag or small cardboard box to the ceiling around the cutting area to catch falling debris.
Many manufacturers sell clear plastic dust bowls that attach to the drill and surround the hole saw.
Have a partner hold a shop vacuum hose directly below the cutting area to capture dust as it is created.
Step 3: Run the Electrical Wires
With the ceiling holes cut, the next step is wiring the lights. This phase involves selecting the correct cable and routing it from a power source to each new fixture location. This part of the guide covers the essential knowledge for a safe and compliant electrical installation.
Choosing the Right Electrical Cable
Selecting the proper electrical cable is a critical safety decision. The wire must be able to handle the electrical load of the circuit without overheating.
Understanding Wire Gauge (14/2 vs. 12/2)
The wire gauge must match the amperage of the circuit breaker. The National Electrical Code (NEC) provides clear guidelines for this. A homeowner must use 14-gauge wire for 15-amp circuits and thicker 12-gauge wire for 20-amp circuits.
Circuit Ampacity | Minimum Wire Gauge |
|---|---|
15 Amps | 14 AWG |
20 Amps | 12 AWG |
Using a 20-amp breaker with 14-gauge wire is a serious fire hazard and a code violation. A homeowner should always match the wire to the breaker.
How Much Cable Will You Need?
A homeowner can calculate the needed cable length by measuring the distance from the power source to the first light, then between each light, and finally to the switch. It is wise to add about 20% extra to this total. This surplus allows for routing around obstacles and provides enough slack for connections. A standard 15-amp circuit can often handle many LED fixtures. For example, a circuit could support 30 lights if each one draws about 1/2 amp.
Routing Wires from the Power Source
Power for the new lights must come from an appropriate source. This is often an existing switch or a new, dedicated circuit from the breaker panel.
Tapping into an Existing Switch or Outlet
For a simple diy project, the easiest method is to tap into a nearby switch box that is on the correct circuit. The homeowner can run a new cable from this existing box up into the ceiling to power the first recessed light.
Running Wire from a New Circuit
If the existing circuits are already heavily loaded, a homeowner must run a new dedicated circuit from the breaker panel. This task is more complex and often requires a professional electrician to ensure it meets all electrical codes.
Daisy-Chaining the Lights
Daisy-chaining is the process of connecting the lights in a series. Power flows from the source to the first light, then from the first to the second, and so on.
Running Cable from Hole to Hole
A homeowner can use a fish tape to pull the electrical cable through the ceiling from one hole to the next. He or she should start at the hole farthest from the power source and work backward. This makes pulling the wire progressively easier.
Leaving Enough Slack for Connections
Pro Tip: When running the cable, leave approximately 18 inches of extra wire hanging out of each hole. This slack provides ample room to strip the wires and make secure connections inside the fixture's junction box without difficulty.
Step 4: Wire and Install the Light Fixtures
After routing the cables, the project moves to the most technical phase: connecting and mounting the fixtures. This step in the guide covers the precise work of wiring the recessed lights and securing the housings into the ceiling. A careful and methodical approach during this stage is crucial for a safe and successful installation.
Preparing the Wires for Connection
Proper wire preparation ensures a secure electrical connection and prevents faults. This involves cleanly removing both the outer cable sheathing and the insulation on the individual conductors.
Stripping the Cable Sheathing
A homeowner should first prepare the NM-B cable that is hanging from each ceiling hole. Using a dedicated cable ripper or a utility knife, he or she can make a shallow 6- to 8-inch incision down the center of the plastic sheathing. It is critical to avoid cutting deep enough to damage the wires inside. The user can then peel back the sheathing and cut it away, exposing the black, white, and bare copper wires.
Stripping the Individual Wires
With the individual wires exposed, the next task is to remove their insulation. Using the wrong tool or technique can nick the copper, creating a weak spot and a fire hazard. For a professional diy result, a homeowner should follow these steps:
Select a calibrated wire stripper designed for the wire gauge being used (14 AWG or 12 AWG).
Place a wire into the corresponding slot on the tool.
Squeeze the tool firmly and pull it toward the end of the wire. This action will remove about 3/4 of an inch of insulation without damaging the conductor.
Repeat this process for each black and white wire at every fixture location.
Connecting Wires in the Junction Box
Each recessed light housing has an integrated junction box where all electrical connections are made. This is the central point for the fixture's wiring.
Opening the Junction Box
Most fixture junction boxes have a small metal cover held in place by a clip or screw. A homeowner can simply pry this open or remove the screw to access the interior and the fixture's pre-wired connections (pigtails).
Connecting Ground, Neutral, and Hot Wires
Inside the box, the user will connect the wires from the power source cable, the wires leading to the next light, and the fixture's own wires. The connections follow a standard color code:
Ground: Twist all bare copper (or green) wires together.
Neutral: Twist all white wires together.
Hot: Twist all black wires together.
Securing Connections with Wire Nuts
A homeowner should hold the grouped wires with the ends perfectly aligned and twist a wire nut over them in a clockwise direction. He or she must continue twisting until the connection is tight and no bare copper is visible below the edge of the nut. A gentle tug on each wire confirms the connection is secure.
Installing the Housing
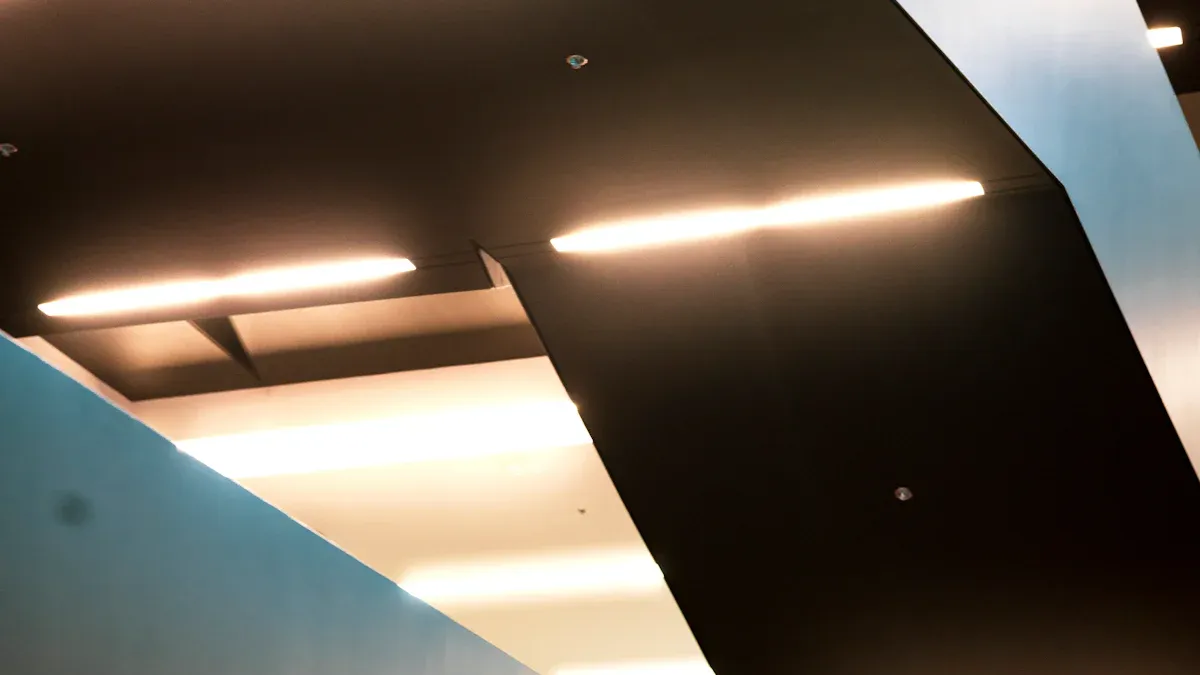
With the wiring complete, the final part of this step is to mount the fixture housing into the ceiling. This is a key moment when you install recessed downlights.
Inserting the Housing into the Ceiling
The user should first carefully push the wired junction box up through the hole and into the ceiling cavity. Then, he or she can guide the main body of the light housing up into the opening.
Securing the Retention Clips
Remodel-style housings are designed for easy installation from below. They feature spring-loaded retention clips. As the homeowner pushes the housing into the ceiling, these clips are pressed against the can. Once the housing's flange is flush with the ceiling, the clips spring outward, firmly gripping the top side of the drywall. This tension holds the entire fixture securely in place without any additional fasteners.
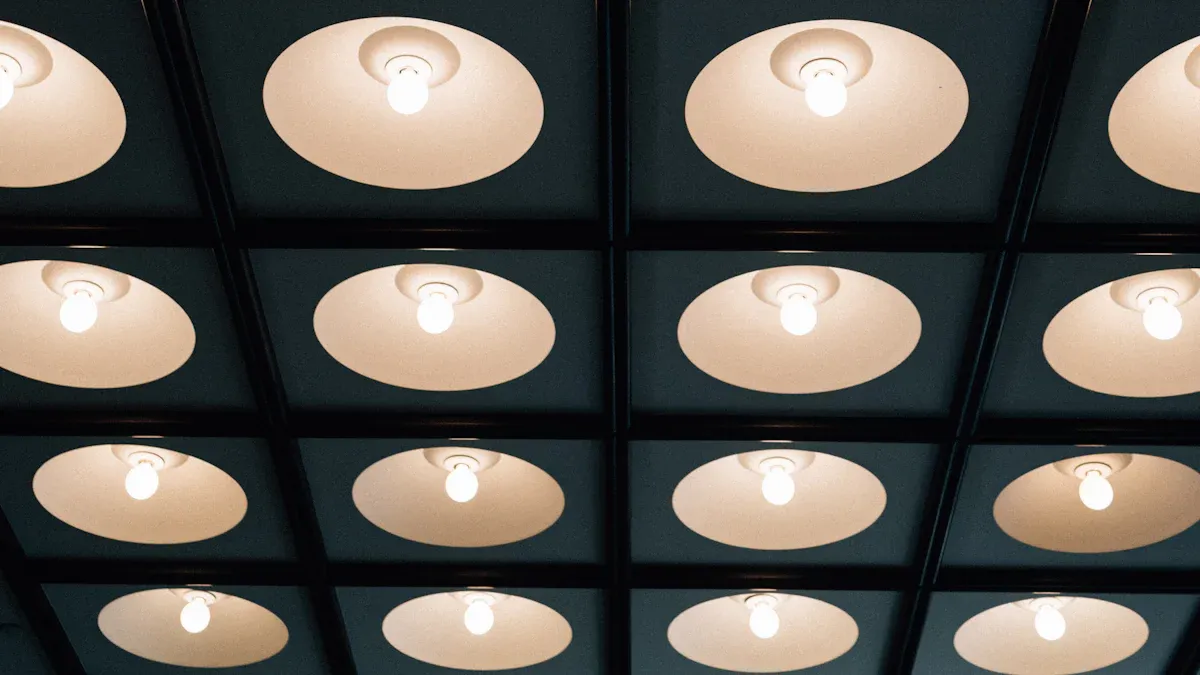
Step 5: Install Trim and Test Your Work
The final stage of the installation brings the project to completion. This step involves adding the decorative trim, installing the bulbs, and performing the final safety checks. This part of the guide ensures the new lighting is both beautiful and functional.
Connecting and Installing the Trim
The trim is the visible part of the fixture that gives it a finished look. Proper installation is key for a professional appearance.
Plugging the Trim into the Housing
Most modern LED trims come with a quick-connect plug. A homeowner simply connects this plug from the trim into the corresponding socket inside the housing. This connection powers the integrated LED or the bulb socket. The user should ensure the plug is seated firmly.
Securing the Trim to the Ceiling
After connecting the trim, a homeowner gently pushes it up into the housing until its outer edge is flush with the ceiling. Most trims use torsion springs or pressure clips that grip the inside of the housing, holding it securely in place.
Troubleshooting a Poor Fit If the trim does not sit flush, a homeowner should check for these common issues:
Ceiling Irregularities: An uneven drywall surface or bumps from old paint can prevent a tight fit.
Incorrect Housing Selection: Using a new-construction housing in a remodel project can cause alignment problems.
Electrical Wire Management: Bundled wires inside the ceiling can obstruct the housing, preventing it from seating correctly.
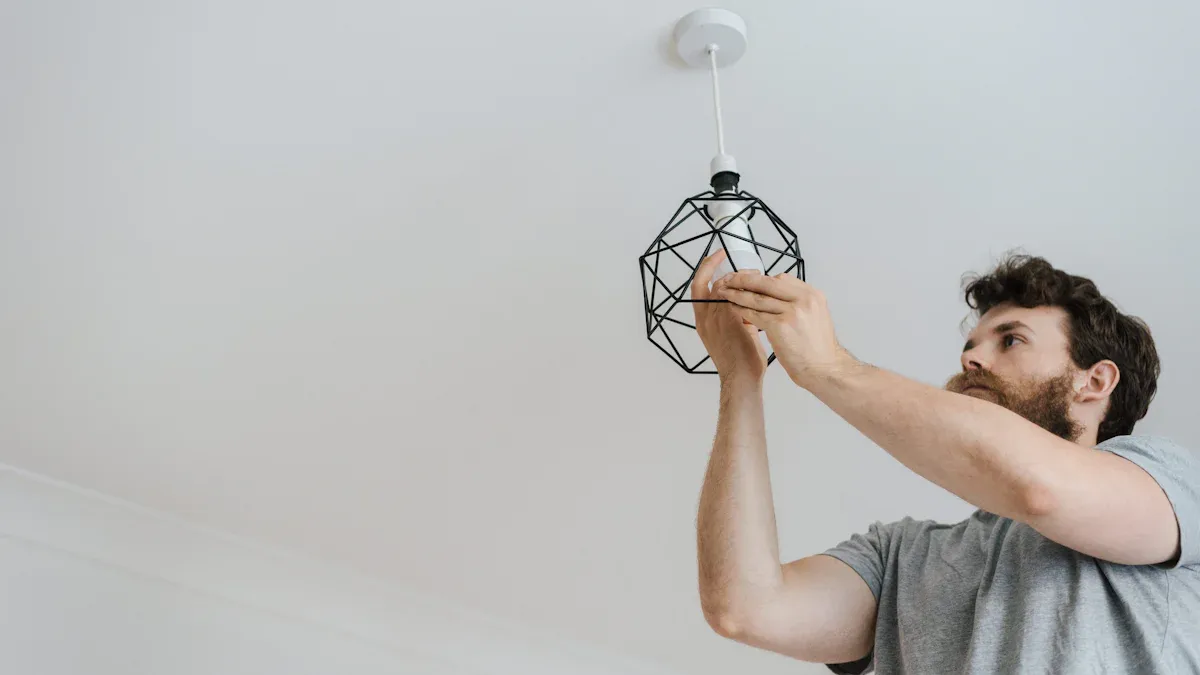
Installing the Light Bulbs
Choosing the right bulb affects both the room's ambiance and energy costs. This is a critical decision for any project to install recessed lighting.
Choosing the Right Bulb Type
For this diy project, energy-saving LED bulbs are the superior choice. They use up to 90% less energy and last significantly longer than older technologies. The following table compares common bulb types.
Bulb Type | Lifespan (hours) | Energy Efficiency (compared to incandescent) | Notes |
|---|---|---|---|
Incandescent | ~1,500 | Very inefficient; 90% of energy is heat | Invented by Thomas Edison |
Halogen | Longer than incandescent | More efficient than regular incandescent | Gets very hot, posing burn hazards |
LED | ~25,000 - 35,000 | Highly efficient; cool to the touch | Suitable for all uses, including recessed lighting |
Screwing in the Bulbs
If the trim is not an integrated LED unit, the homeowner will install a separate bulb. He or she should screw the bulb into the socket until it is snug, but avoid over-tightening, which can damage the socket or bulb.
The Final Test for Your Recessed Lighting Installation
This is the moment of truth for the entire installation. It is time to restore power and test the lights.
Restore Power at the Breaker
The user should return to the circuit breaker panel. He or she must flip the breaker that was turned off back to the "ON" position.
Flip the Switch and Test Each Light
A homeowner can now go to the wall switch and turn on the new lights. If a light does not turn on, he or she should follow this troubleshooting checklist:
Turn the power off again for safety.
Check the bulb to ensure it is screwed in correctly or try a new bulb.
Verify the quick-connect plug between the trim and housing is secure.
Inspect the wire nut connections in the junction box to confirm they are tight.
If multiple lights are out, reset the circuit breaker one more time.
If problems persist, the issue may be with the switch or main wiring, which could require professional assistance.
Critical Safety Precautions for Installing Recessed Lighting
A successful DIY project prioritizes safety above all else. A homeowner must follow strict safety precautions when working with electricity and tools. This section outlines the essential measures to protect both the individual and the home during the entire installation process.
Electrical Safety Is Non-Negotiable
Proper electrical safety is the most important aspect of this project. Mistakes can lead to severe injury or fire hazards. A homeowner must approach every electrical step with caution and respect for the power involved.
Always Verify Power Is Off
Flipping a breaker is only the first step. A homeowner must always confirm the circuit is de-energized before touching any wires. He or she should use a non-contact voltage tester on the switch and at the fixture location. The tester provides the final, definitive proof that the work area is safe.
Never Work on Live Wires
Working on a live circuit is extremely dangerous and must be avoided. The risk of electric shock, burns, or even electrocution is significant. A careful homeowner always double-checks for power to ensure a safe installation.
Ladder and Work Area Safety
Physical safety in the work area is just as important as electrical diligence. Working overhead on a ladder presents unique risks that require attention.
Ensure Your Ladder is Stable
A homeowner should place the ladder on a flat, solid surface. He or she must ensure all four feet are firmly on the ground and that any locking braces are fully engaged. The user should avoid overreaching to the side, as this can cause the ladder to become unstable. It is always safer to climb down and move the ladder.
Wear Safety Glasses
Protecting one's eyes is mandatory. Cutting drywall creates a large amount of fine dust and debris that will fall from the ceiling. A homeowner must wear safety glasses at all times during cutting and installation to prevent eye injury.
Safety Tip: 👓 Keep the work area clear of tools and materials to prevent tripping hazards. A clean space is a safe space.
When to Call a Professional Electrician
Knowing one's limits is a key part of any home project. Certain situations are too complex or dangerous for an amateur and require a licensed electrician.
If You're Unsure About Your Wiring
A homeowner should stop work immediately if the home's wiring seems confusing or does not match standard color codes. Signs of overloaded circuits or previous faulty work are also red flags. When installing recessed lights, any uncertainty about the electrical system warrants a professional consultation.
If You Encounter Aluminum Wiring
Some homes built in the 1960s and 1970s used aluminum wiring. This material requires special connectors and techniques to prevent fire hazards. If a homeowner discovers dull gray wires instead of copper when installing recessed lighting, he or she must stop the project and call an electrician.
Common Challenges When You Install Recessed Downlights
Even a well-planned project can present unexpected hurdles. A homeowner can anticipate and overcome the most common issues that arise when they install recessed downlights. This knowledge helps ensure the final installation is safe and professional.
Installing Recessed Lights Without Attic Access
Many homes lack attic access above the work area, making it impossible to work from above. This requires a different approach for the entire installation.
Using Fish Tape to Route Wires
Routing electrical cable between ceiling holes without attic access requires a fish tape. This flexible steel or fiberglass tool helps pull wires through the enclosed ceiling cavity. For a successful diy project, a homeowner can use several techniques.
Prepare the Wire Head: Stagger the wire ends to create a slimmer profile. Wrap one conductor through the fish tape's eyelet and around the others to make a strong, flexible head.
Use an Inspection Camera: If the fish tape hits an obstruction, a small inspection camera can help identify the blockage, such as a fire block or plumbing pipe.
Work with a Partner: One person can feed the wire while the other pulls the fish tape. This teamwork makes navigating bends much easier.
Choosing Remodel-Style Housings
Remodel housings are specifically designed for this scenario. They feature retention clips that allow the entire fixture to be secured from below, gripping the back of the drywall without needing access to the ceiling cavity.
Dealing with Insulation
Ceiling insulation presents a significant fire safety consideration when installing recessed lights. Heat generated by light fixtures can ignite flammable insulation if not managed correctly.
Why You Need IC-Rated Fixtures
A fixture's rating determines how it must be installed near insulation. Non-IC (Insulation Contact) rated fixtures generate substantial heat and have vents to dissipate it. If insulation blocks these vents, the fixture can overheat and become a fire hazard. Building codes require a minimum clearance of three inches between any insulation and a non-IC fixture. In contrast, IC-rated fixtures are engineered for direct contact with insulation, making them the safest choice for an insulated ceiling.
How to Work Around Existing Insulation
When installing recessed lighting in an insulated ceiling, a homeowner should wear gloves and a mask. He or she can carefully push aside batt insulation to make room for an IC-rated fixture. The insulation can then be placed back around the housing once it is installed.
Upgrading to a Dimmer Switch
A dimmer switch adds ambiance and functionality. However, compatibility between the dimmer and modern LED lights is a common source of problems.
Choosing a Compatible Dimmer
Common LED Dimmer Problems Mismatches between LED bulbs and dimmer switches often cause issues. A homeowner might notice flickering at low light levels, a buzzing or humming noise from the switch, or a complete failure to dim. These problems usually indicate the dimmer is not designed for the low electrical load of LEDs.
Choosing a dimmer specifically designed for LEDs is critical. Reverse-phase dimmers are generally the best choice for this application.
Feature | Forward-Phase Dimming | Reverse-Phase Dimming |
|---|---|---|
Mechanism | Rapidly turns light on and off | Cuts off voltage at a certain point |
Power Handling | 'Strangles' some power | Conserves energy; prevents power surges |
LED Compatibility | Less common for LEDs | Typically used with LED lights (ELV) |
Basic Steps for a Switch Replacement
Replacing a standard switch with a dimmer is a straightforward task. After turning off power at the breaker and verifying with a voltage tester, a homeowner can remove the old switch. He or she then connects the wires to the new dimmer according to the manufacturer's instructions before securing it in the wall box. This final step completes the project to install recessed downlights.
A homeowner can now enjoy the results of a successful recessed lighting installation.
This project enhances both the room's atmosphere and its practical function. The new lighting adds value and modern appeal to the space. Prioritizing safety remains the most critical rule for any future diy electrical project. A careful approach ensures successful outcomes for years to come.
FAQ
Can a homeowner install recessed lights in a sloped ceiling?
Yes, a homeowner can install lights in a sloped ceiling. He or she must use fixtures with adjustable gimbals or angled trims. These specialized components allow the light to aim straight down, providing correct illumination for the room.
How much does it cost to install recessed lights?
The cost varies by fixture quality and project scope. A homeowner can expect to pay $30 to $100 per light for materials. This price includes the fixture, wiring, and other supplies. Professional installation will increase the total project cost.
How long does a recessed lighting installation take?
Installation time depends on the homeowner's skill and the number of lights. An experienced person might install 4-6 lights in an afternoon. A beginner should allocate a full day to ensure a safe and accurate installation process.
What is the difference between remodel and new construction housings?
These two types serve different installation scenarios.
Remodel Housings: Install from below the ceiling. They use clips to grip existing drywall.
New Construction Housings: Attach directly to ceiling joists before drywall installation.
A homeowner must select the housing that matches the project.
Can a homeowner use smart lights with this installation?
Yes, integrating smart lighting is a popular upgrade. A homeowner can either install smart LED bulbs into standard fixtures or purchase complete smart recessed lighting kits. These systems offer control through a smartphone app or a voice assistant.
What should a homeowner do if a hole is cut too big?
An oversized hole can be fixed. A homeowner can use a drywall patch kit for minor repairs. For larger gaps, an oversized trim piece called a "goof ring" is the best solution. It covers the mistake effectively.
How many lights can go on a single circuit?
The number of lights depends on the circuit's amperage and the total wattage of the fixtures. Modern LED lights use very little power. A standard 15-amp circuit can often support over 20 LED fixtures without any issue.